Peacock Drawing Step By Step
The peacock, also known as a peafowl, is a medium-sized bird that inhabits tropical rain forests with warm climates.
They are particularly known for their distinctively colorful tail feathers, which spreads into a magnificent fan that encompasses the bird's back and touches the ground side by side.
The extreme popularity and exceptional beauty of peacocks have made this a highly-requested drawing tutorial.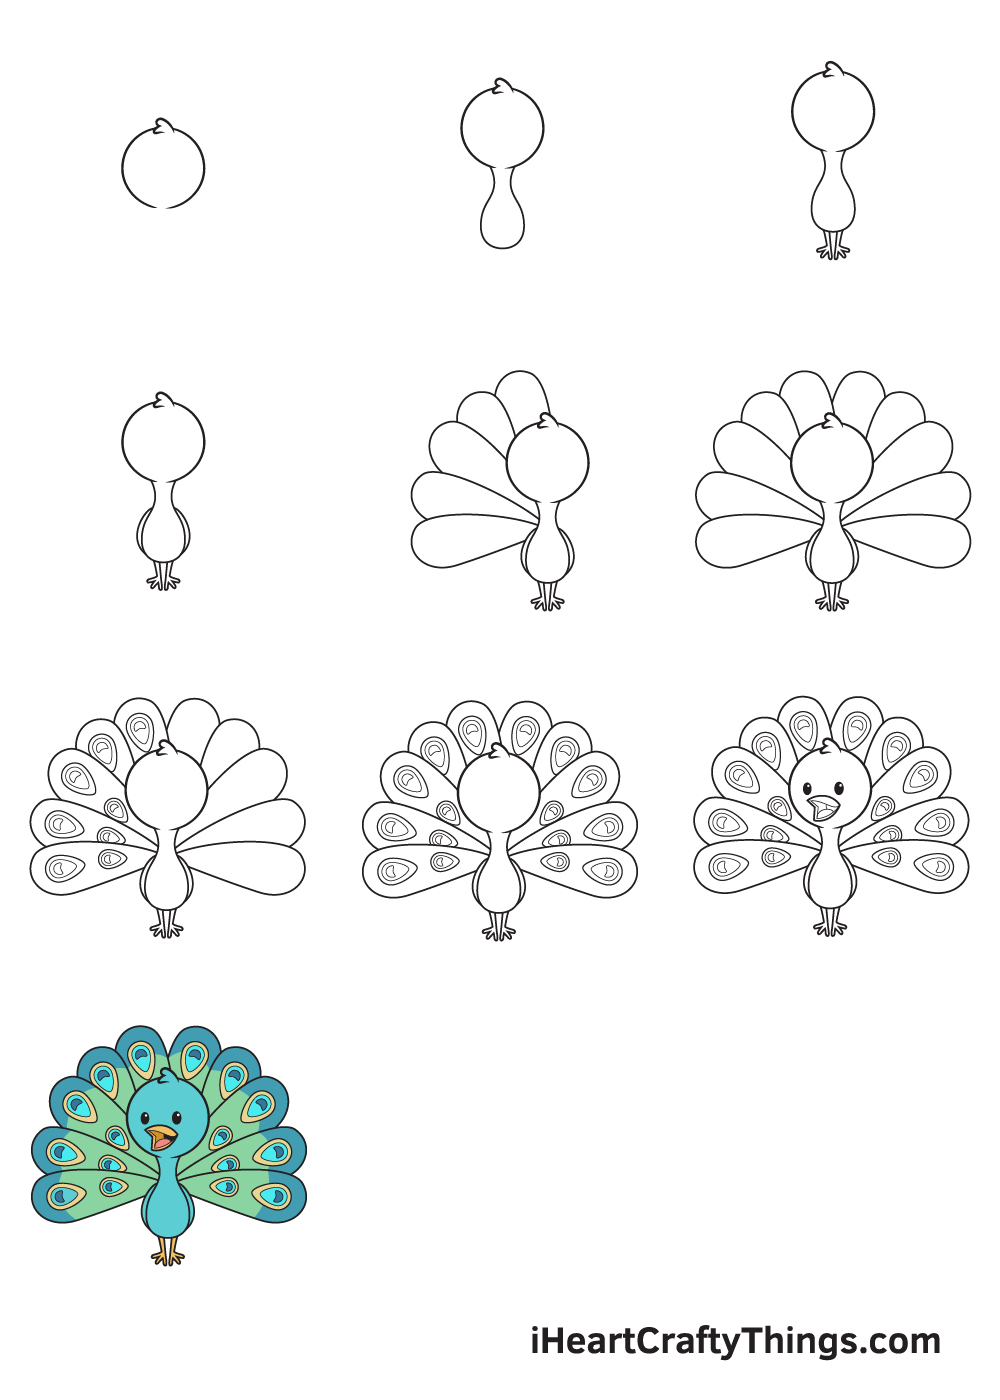
So, here we are, we have created a step-by-step tutorial on how to draw a peacock, summed up in 9 easy and quick steps. Each instruction comes with an illustration to make the steps a lot easier for you to follow.
So, what are you waiting for? Go ahead and grab your pen and paper!
What's in this Blog Post
- How to Draw a Peacock — Let's get started!
- Step 1
- Step 2 — Outline the Peacock's Head and Body
- Step 3 — Next, Draw Both Legs of the Peacock
- Step 4 — Then, Draw the Wings of the Peacock
- Step 5 — Afterwards, Draw Half of the Feathers
- Step 6 — Now, Complete the Fanned Out Feathers
- Step 7 — Add Patterns on the First Five Feathers
- Step 8 — Next, Add Details on All of the Feathers
- Step 9 — Now, Draw the Peacock's Facial Features
- Your Peacock Drawing is Complete!
How to Draw a Peacock — Let's get started!
Step 1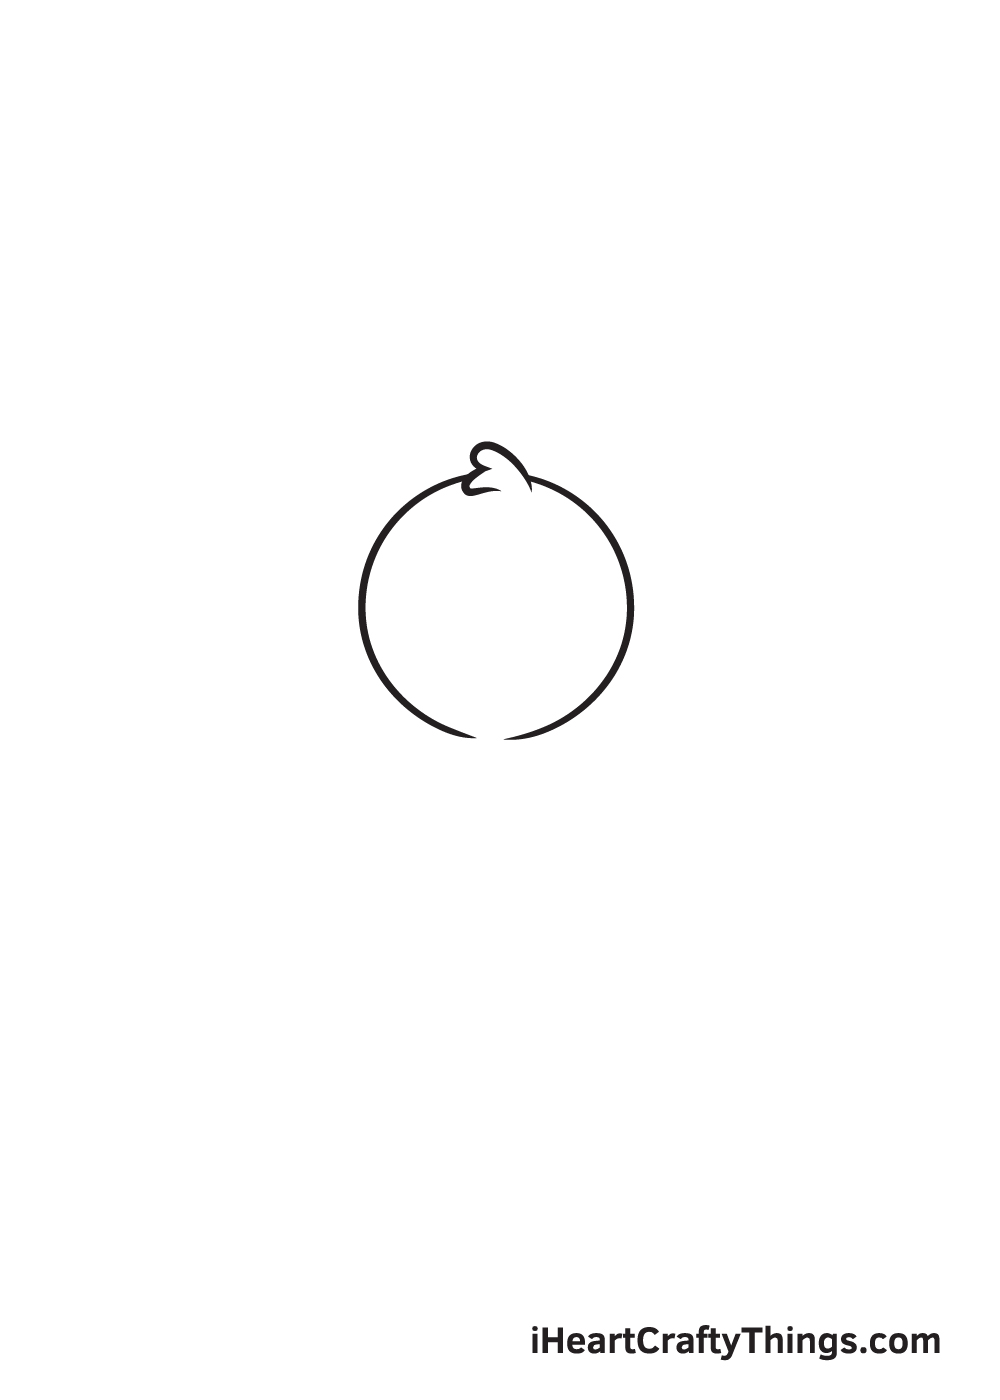
Begin by sketching a perfect circle just slightly above the middle of your paper. Then, draw a tilted W-shaped line to create a feathery texture at the top of the head.
Remember, draw with light strokes when creating outlines and rough sketches. This is to ensure that you can easily get rid of any lines from the outline that you no longer need later on. This also helps keep your drawing refined and neat.
Step 2 — Outline the Peacock's Head and Body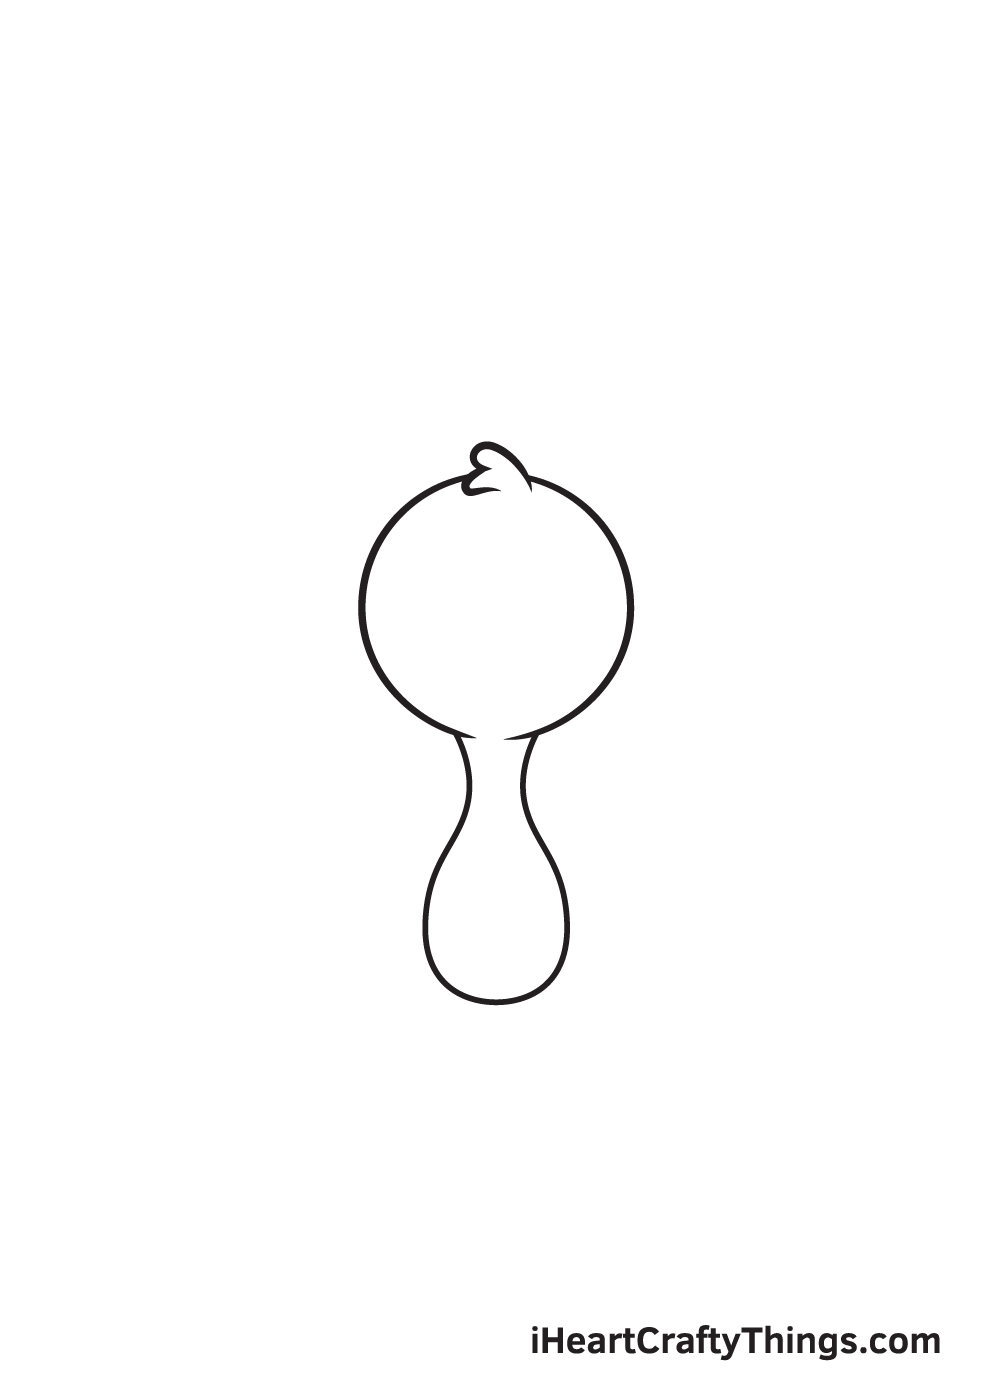
Right underneath the head, draw an elongated shape with a narrow upper part and wider bottom to create the body.
When drawn correctly, the shape of the body should look quite similar to a vase.
Step 3 — Next, Draw Both Legs of the Peacock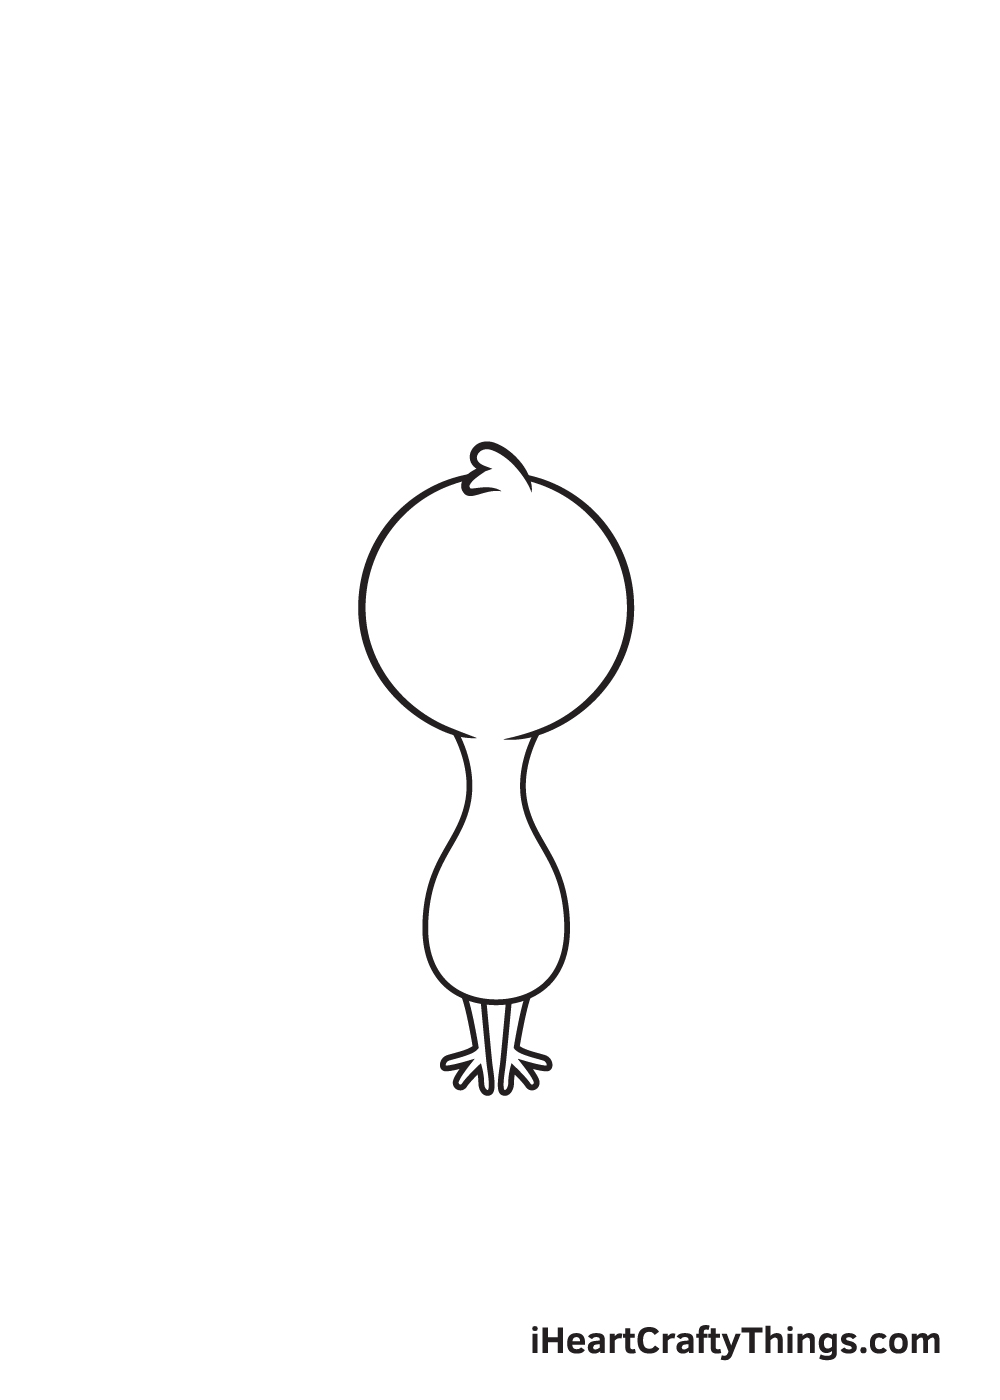
Draw thin legs side by side underneath the body of the peacock. Don't forget to add a foot with three claws at the bottom of each leg.
Try to make the legs and the feet of the peacock identical as much as possible.
Step 4 — Then, Draw the Wings of the Peacock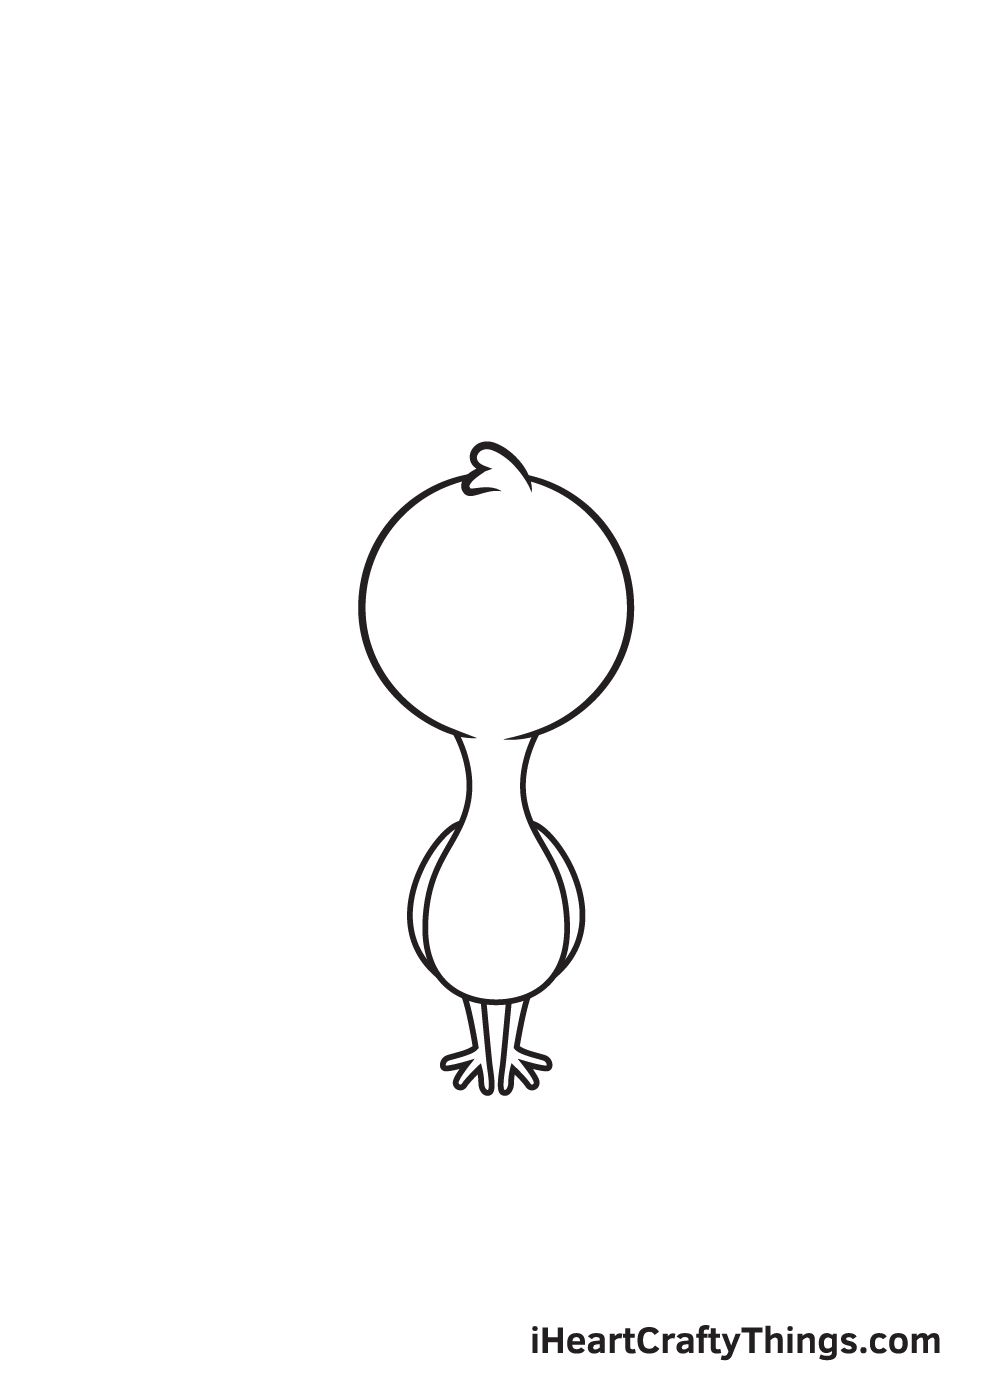
Enclose a curved line on each side of the peacock's body.
The curved line should follow the outline of the peacock's body, creating the appearance of a pair of wings perfectly still on the sides of its body.
Step 5 — Afterwards, Draw Half of the Feathers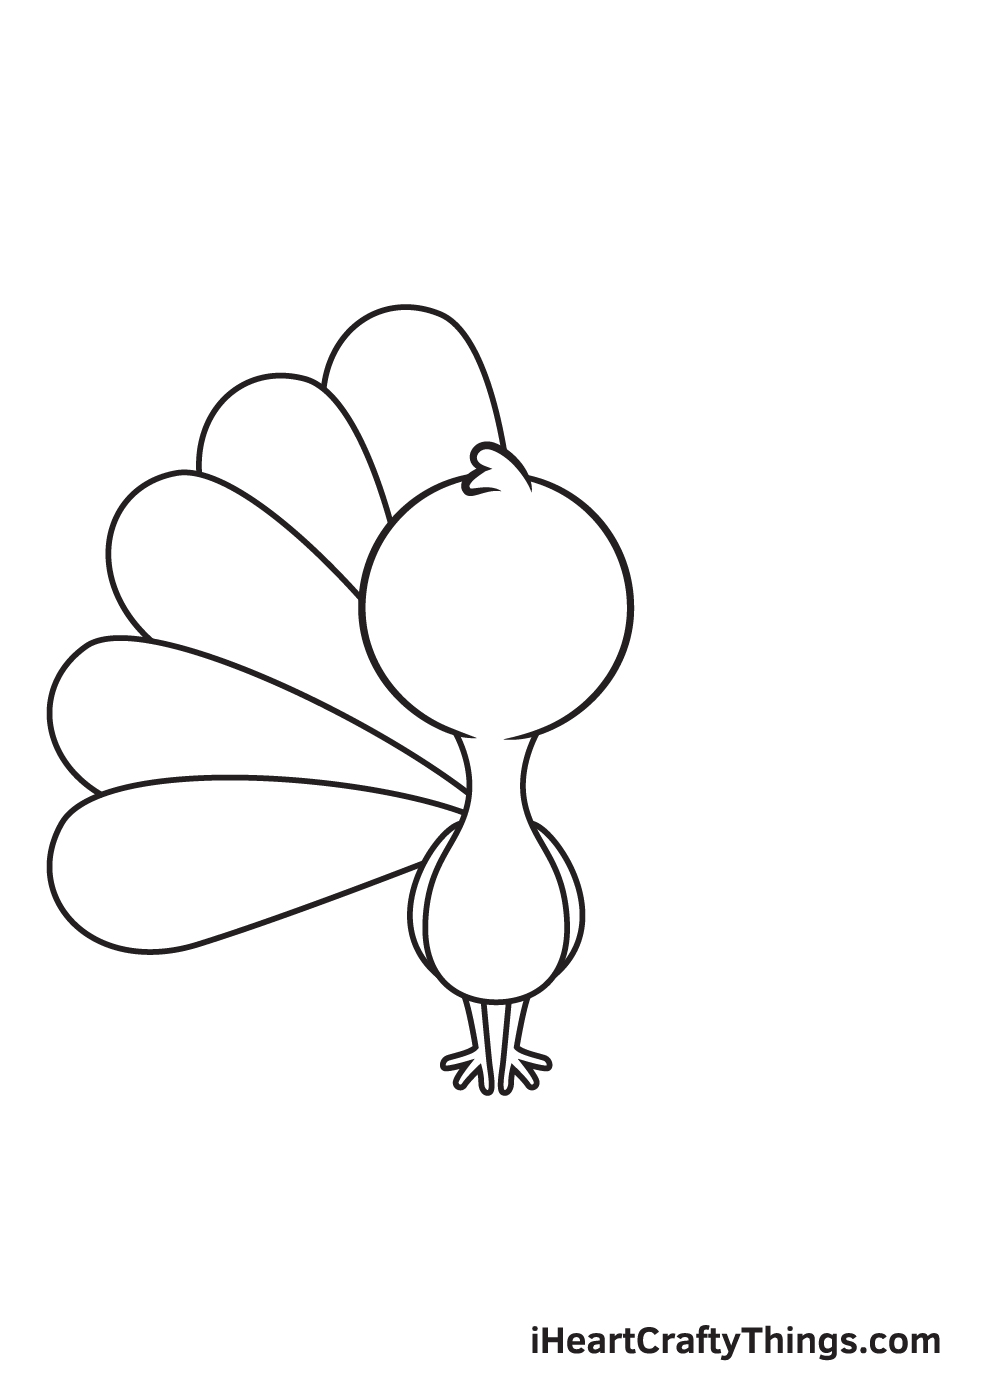
Now, it's time to draw the most distinct physical features of the peacock, which is the feathers on its back! It looks especially beautiful when it's spread apart, so that's exactly what we'll be drawing in this step.
Continue by an elongated shape with a round bottom to create the first feather attached on the back of the peacock.
Then, repeat the same steps until there are five feathers side by side. This forms the first half of the peacock's set of fanned out feathers.
Step 6 — Now, Complete the Fanned Out Feathers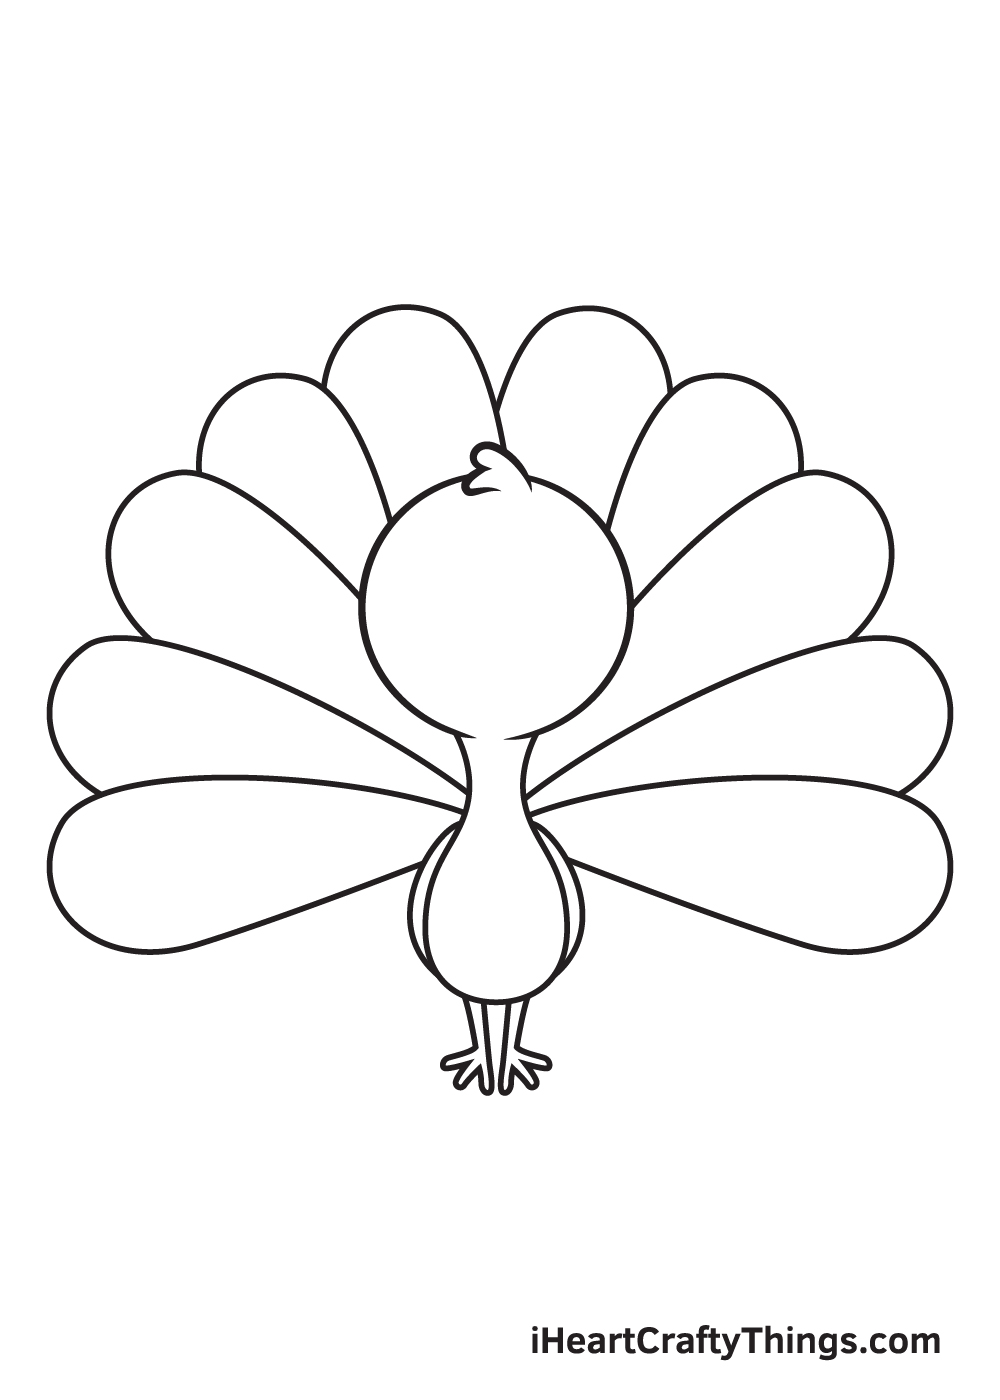
Draw another five feathers on the other side. Keep in mind that all feathers should have the same width and length.
After completing this step, there should now be a total of ten feathers on the back of the peacock.
Step 7 — Add Patterns on the First Five Feathers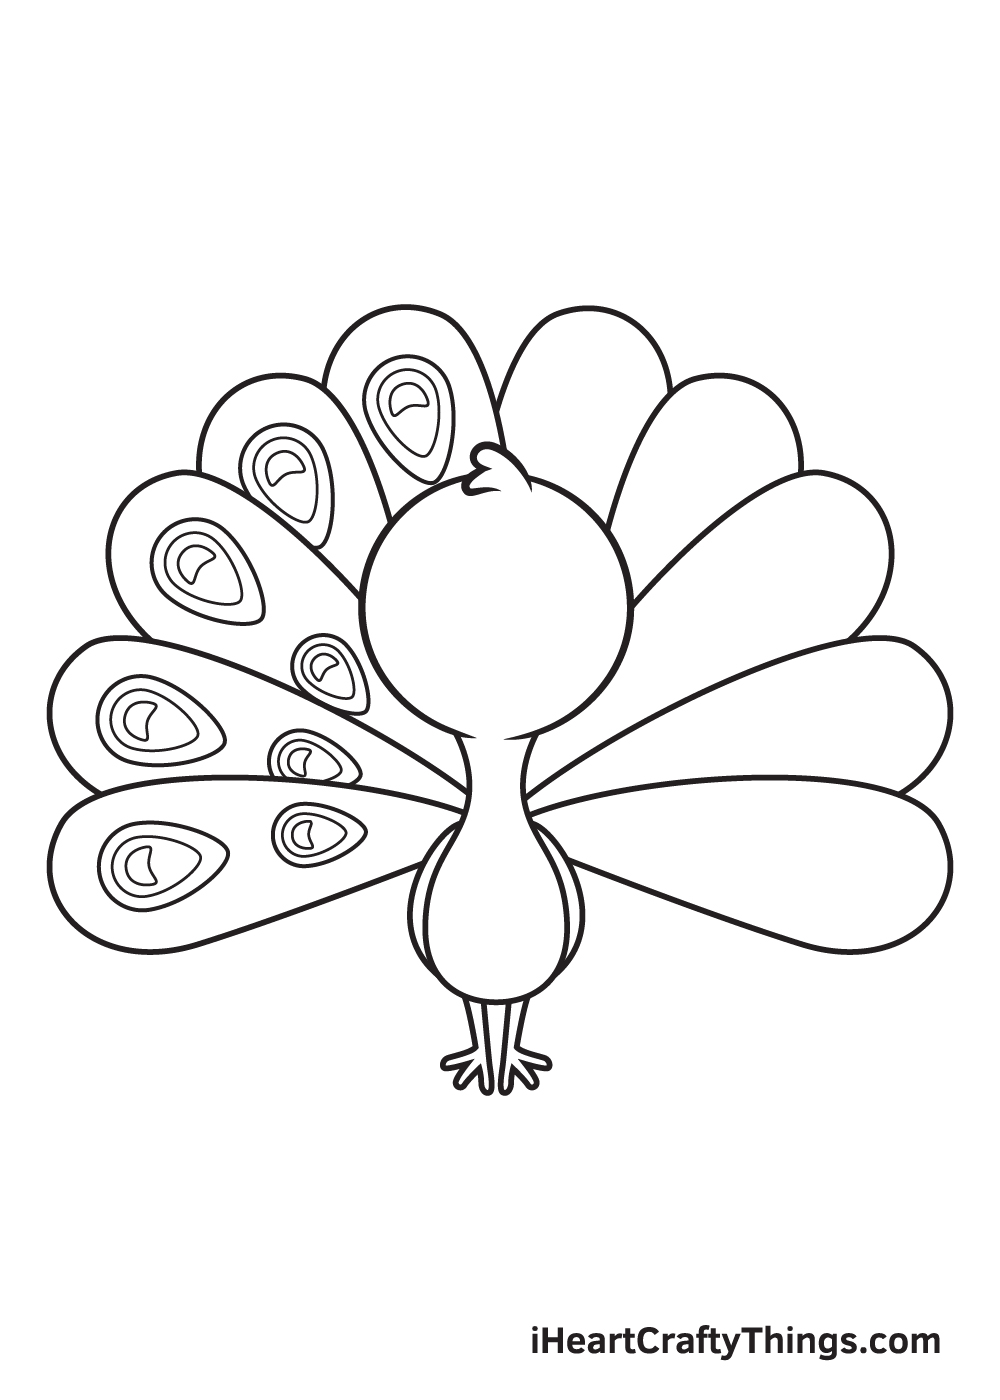
The pattern can be created by simply drawing an upside down narrow droplet shape. Then, draw a smaller shape with a similar form inside the one we drew just now.
Afterwards, draw a semicircle within the shape. That's it! See, the patterns may look complex, but drawing it is as simple as that!
Draw two patterns on each feather: a big one at the top and a smaller one at the bottom. Take note that only the top pattern will be visible on the feathers in the middle, as shown in the illustration.
Step 8 — Next, Add Details on All of the Feathers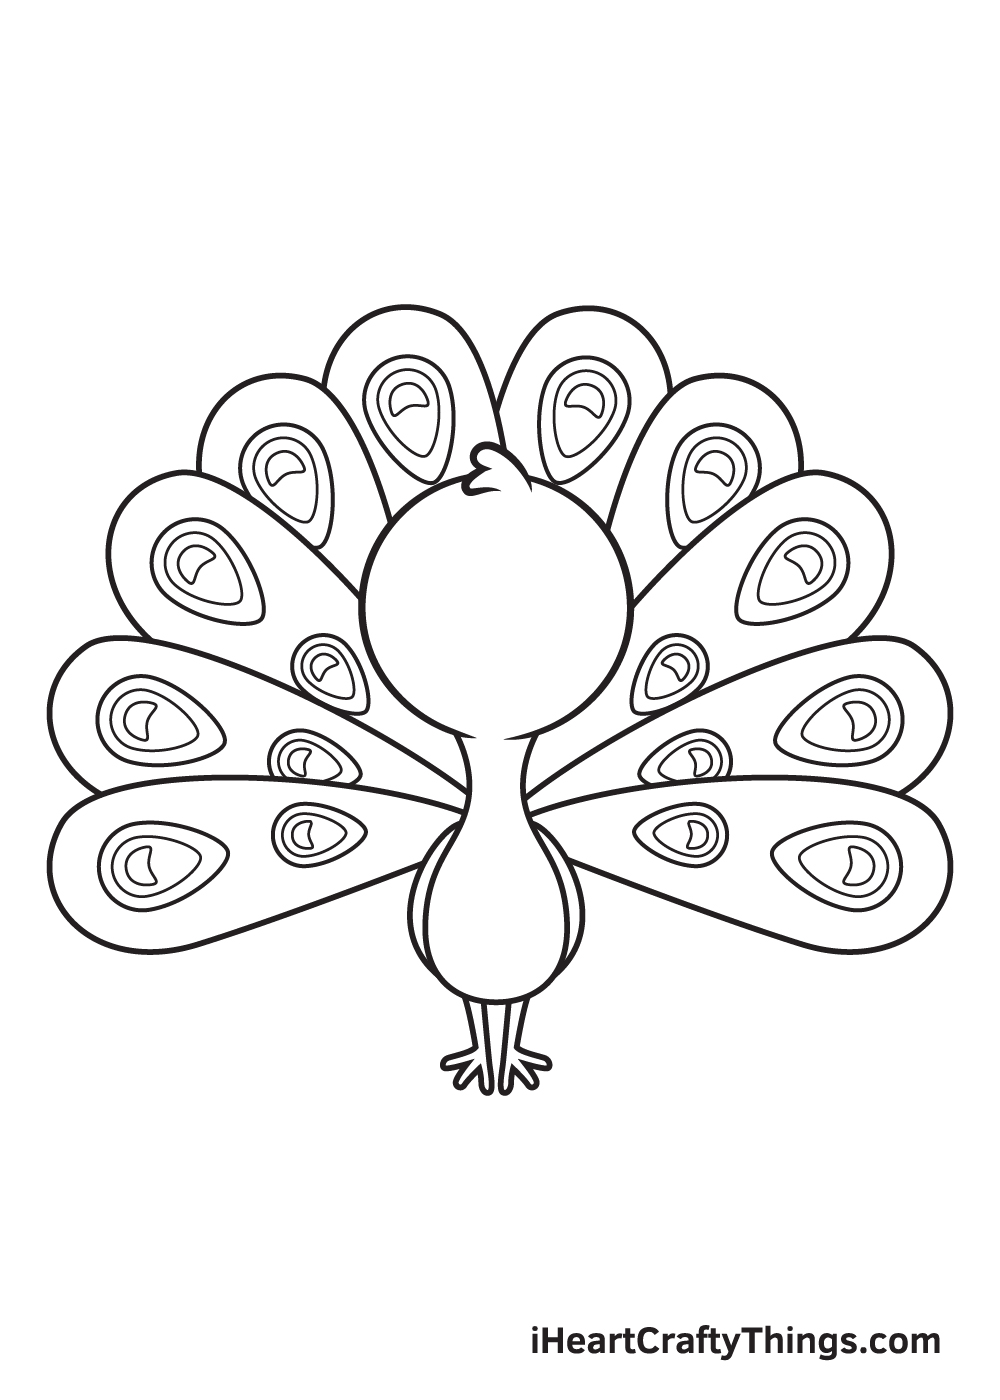
Repeat the previous step and keep drawing the same pattern on each feather.
In this step, you should finish drawing the patterns on all ten feathers of the peacock.
Step 9 — Now, Draw the Peacock's Facial Features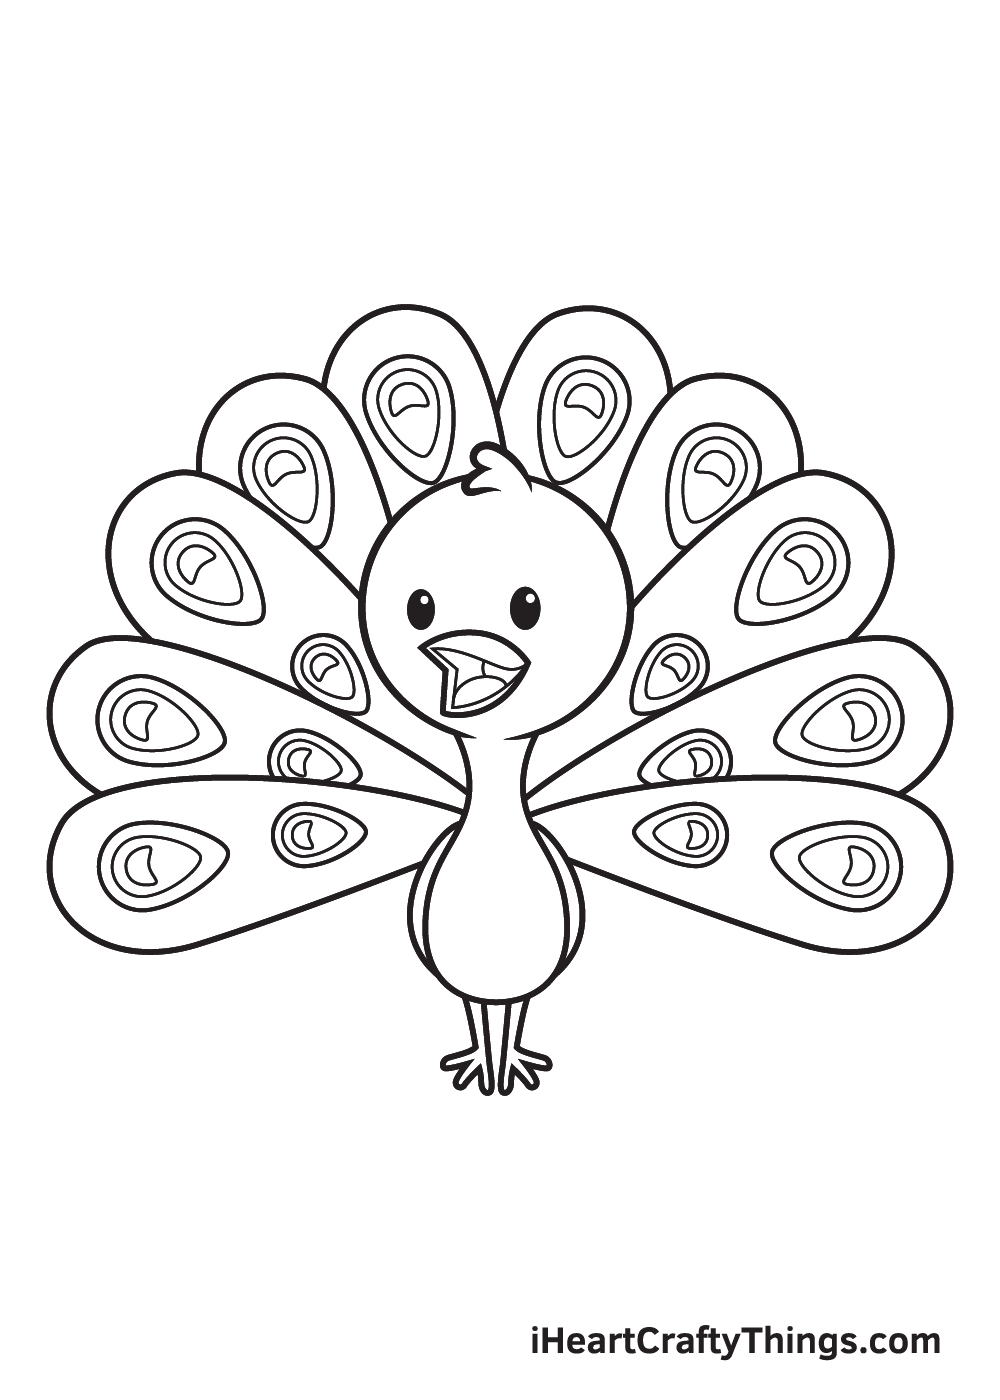
To complete your drawing, draw the eyes and the beak of the peacock.
Proceed by drawing two standing oval shapes inside the peacock's face to outline the eyes. Then, draw two small circles within each eye.
Now, shade the entire eyes except for the tiny circles inside. This adds a dramatic effect and makes the eyes look like it's sparkling!
To create the beak, simply draw a shape with a pointed edge on the right side and two on the left side.
Don't forget to add an outline inside the beak to refine the shape and create the appearance of a tongue!
There you have it—you have successfully drawn a beautiful peacock! Now, it's time for the part that you've probably been waiting for, which is filling in the colors of the peacock!
Peacocks typically have iridescent blue bodies and the feathers on their backs are a combination of metallic blue and green hues.
However, there are a few unique species of peacocks that have pink, purple, and other vibrant pigments.
Coloring a peacock will surely be fun because there's a wide range of color options to choose from.
You can choose to color the peacock using their original colors or use a customized set of colors to create a one-of-a-kind peacock. Either way, we're sure the colors will turn out beautifully!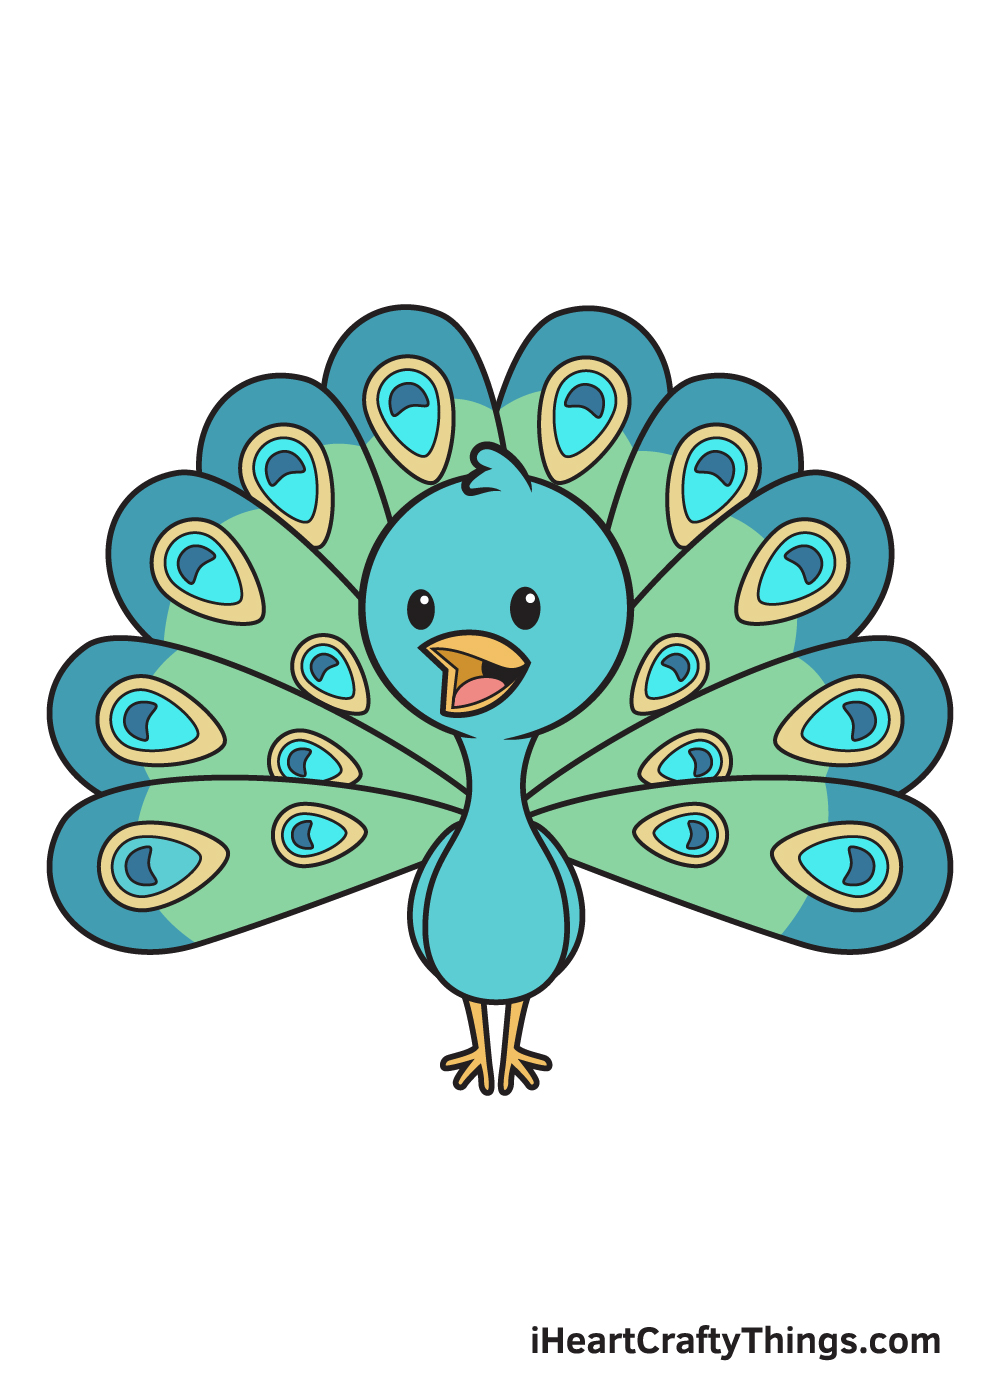
Your Peacock Drawing is Complete!
If you enjoyed this drawing tutorial, then you'll surely enjoy our drawing tutorials of other kinds of birds such as a parrot and a hummingbird.
Go ahead and check out our "How to Draw" catalog to explore more fun drawing tutorials like this one. What kind of bird would you like to draw next?
Don't forget to show off your masterpiece once you've finished drawing and coloring the peacock!
Don't be shy—you've worked hard in creating that artwork so it's definitely worth sharing. Don't worry, we're sure it looks breathtaking!
We can't wait to see your impressive peacock drawing!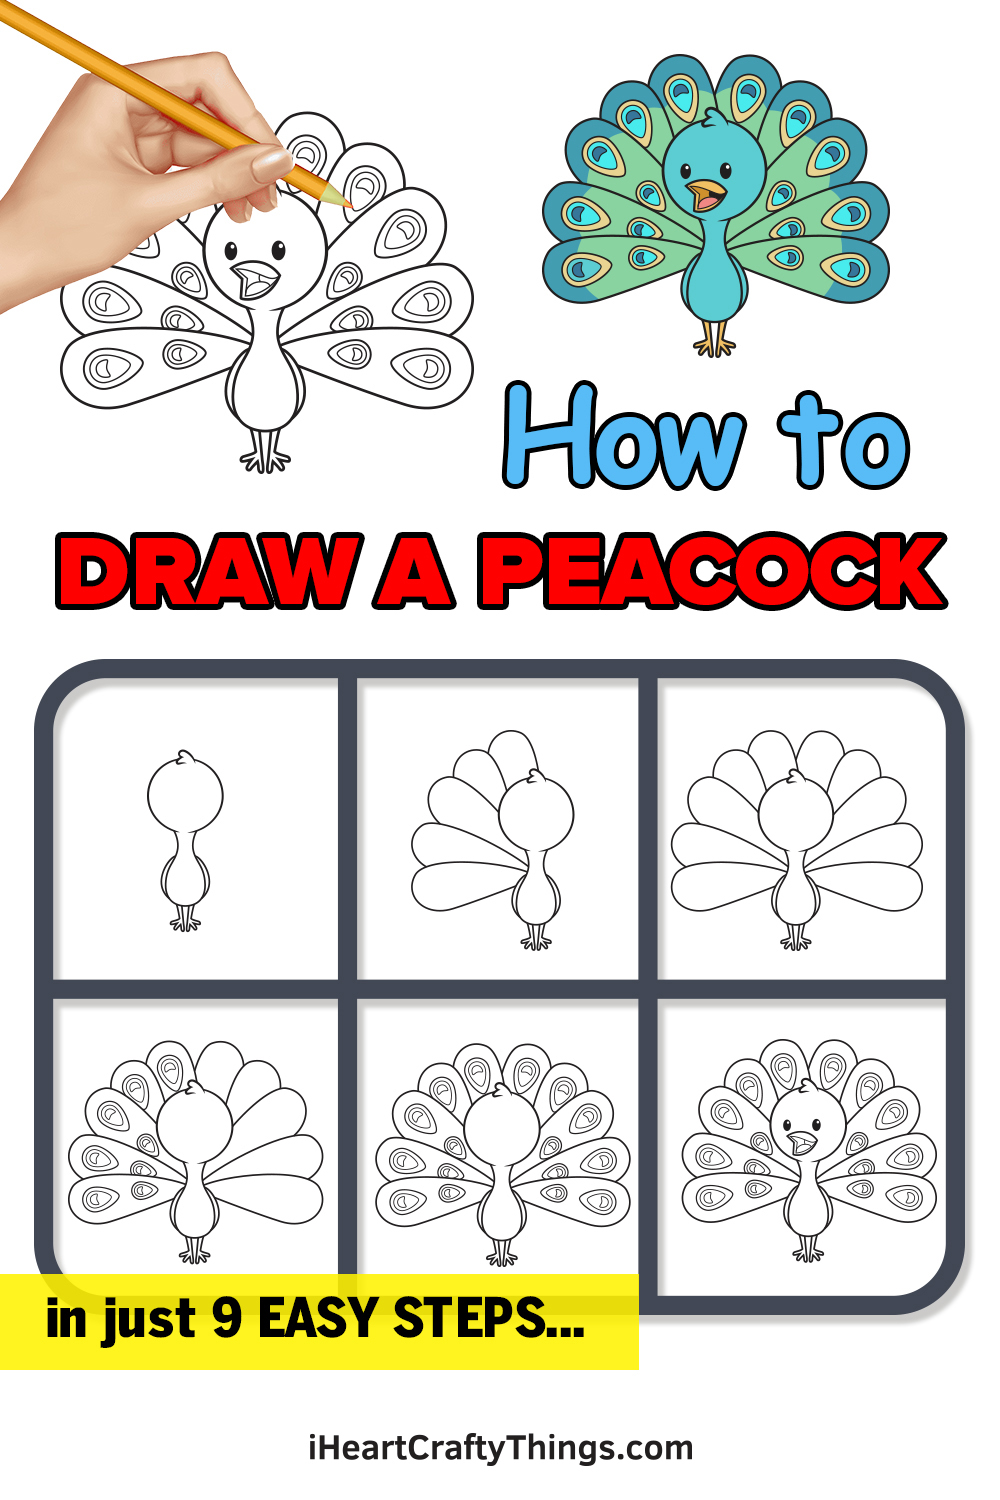
Peacock Drawing Step By Step
Source: https://iheartcraftythings.com/peacock-drawing.html
Posted by: bemisincentoll.blogspot.com

0 Response to "Peacock Drawing Step By Step"
Post a Comment